 |
Tutorials videos are available online at http://jacquelin.potier.free.fr/winapioverride32/videos/ |
Basics
Monitoring
- Monitoring MessageBox
- Monitoring an Exe internal function
Overriding
- Overriding MessageBox
- Overriding Exe internal function
Acting on parameters, return and registers with the break dialog
- Changing basic parameter before a call
- Changing input buffer before a call
- Changing function return
- Changing asm registers before or after a call
Do a remote call (call a function which is inside the hooked software)
- Make a remote Call
Generating a specific monitoring file for an executable and logging the exe
Hooking Notepad
First launch WinAPIOverride and the TargetSample.exe (located in "\Overriding Dll SDK\API\ExeInternal (with target sample)\")
| Drag and drog the cross |  |
on the TargetSample dialog |
| Next start hooking by clicking on |  |
Monitoring MessageBox
Step 1 : load monitoring information
A) By using monitoring library
| Open Monitoring Library by clicking the button |  |
B) Or By writting your one monitoring file
So you want to monitor message box, just do the monitoring file.
As MessageBox is in reality composed of 2 functions, one for unicode and another for ansi string,
if we don't know encoding of the target we have to watch these 2 functions MessageBoxA and MessageBoxW.
As MessageBoxes functions are in the User32.dll, the monitoring file is
USER32.DLL|int MessageBoxA(HWND hWnd,LPCSTR lpText,LPCSTR lpCaption,UINT uType);
USER32.DLL|int MessageBoxW(HWND hWnd,LPCWSTR lpText,LPCWSTR lpCaption,UINT uType);
Once we've put the two lines above in a text file, we just load it using the "Load" button of the "API Monitoring Configuration" group.
When it has been loaded successfully, we can see it in the list of monitoring files.
Step2 : See monitoring in action
So now go back to the TargetSample dialog and click the "API MessageBox" button.
A MessageBox appears
Now take a look at the WinAPIOverride log list. As you can see the call to MessageBox has been cached

Monitoring an Exe internal function
By the way for TargetSample, the Add(int x, int y) function is at address 0x401000. (See Faq: How to find function address)
So make your monitoring file
EXE_INTERNAL@0x401000|Add(int x,int y)
Next load it with the same way as the previous example.
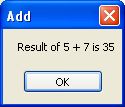
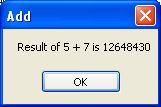
When done click the "Exe Internal Call". You'll see a stupid MessageBox giving the result of 5+7.
Now take a look at log list : your add call is logged.
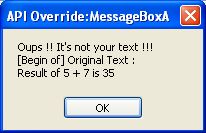
If (like in the screenshot) you have loaded MessageBox monitoring file before you get

Overriding MessageBox
Once you've written an overriding dll as defined in the overriding dll documentation you have to load it inside remote process.
As the overriding MessageBox example is provide, you don't need to build it.
So to load the dll called "FakeMsgBox.dll" use the "Load" button of the "API Overriding Configuration" group.
When it has been loaded successfully, we can see it in the list of overriding dll.
So now click the "API MessageBox" again and see the result
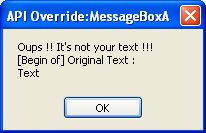
Click the "API MessageBox" again... All comes back in order... Great
Overriding Exe internal function
Overriding an internal function just differ inside the code of the dll. Not in the use.
So load the dll called "FakeExeInternal.dll" in the same way as you do it for the "FakeMsgBox.dll".
Once loaded click the "Exe Internal Call" button.
In this case you'll get the following result
Changing basic parameter before a call
Monitoring is nice, but sometimes we like to change parameters to try to reproduce some bug, or see how function will react.
So, you have to break your software before the call of your function.
To do it, add the |BreakBeforeCall keyword after the function definition, as specified in the monitoring file advanced syntax.
Take our MessageBox example and TargetSample again.
By adding the keyword, our monitoring file becomes
USER32.DLL|int MessageBoxA(HWND hWnd,LPCSTR lpText,LPCSTR lpCaption,UINT uType);|BreakBeforeCall
USER32.DLL|int MessageBoxW(HWND hWnd,LPCWSTR lpText,LPCWSTR lpCaption,UINT uType);|BreakBeforeCall
So start hooking TargetSample and load the monitoring file as described in Monitoring MessageBox
Click the "API MessageBox" button again.
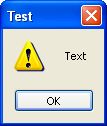
Wow you get the following Dialog

We are going to change the icon of the dialog box, so have to change it's value from 0x0 to 0x30 (MB_ICONWARNING)
So click on the "Memory" button. A Memory dialog will appear.
In the "Write" section, enter the address 0x12E318 at start address (see Memory Dialog)
As uType is an unsigned int, it is 4 byte length; and as your computer is in little endian,
in memory 0x30 is "30 00 00 00". So put 30 00 00 00 in Hexa data field and click "Write".

So now close the memory dialog, and click "Continue" on the break dialog.
It resume your application, and you see the MessageBox
|
As you may notice, logs in WinAPIOverride are not affected by your modifications. If you want to log your changes and not the original call, add the |LogInputAfterBreak keyword |
Changing input buffer before a call
Add the |BreakBeforeCall keyword in your ExeInternal monitoring file like in the previous example.
Your monitoring file should be like
EXE_INTERNAL@0x401000|Add(int x,int y)|BreakBeforeCall
Now load it in TargeSample as describe in previous example.
Now click the "Exe Internal Call" button.
You get the following information in the break window

lpTextAddress is at address 0x12F7D4.
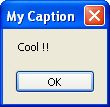
Just modify it with the memory window. No troubles if your buffer is less or equal than the original one.
We put "Cool !!" on it. (So "43 6F 6F 6C 20 21 21 00" in ASCII)
Notice : Use the String Hex dialog for string to bytes buffer conversion and take care of characters encoding :
it should be the same as the message box call : ASCII for MessageBoxA and UNICODE for MessageBoxW
Now lpCaption is at address 0x40710C... and
Oups it's a protected page of the software : that means you can modify it, but as it's static data, they will be changed until you close the software.
Not the best.
Another way is to allocate memory and replace the content of the value 0x12E1F8 (0x40710C) by our allocated address.
So
1) Allocate 50 bytes of memory.
In MY case, the address of allocated memory is 0x00320000. (Just read your own from the interface)
2) At address 0x00320000 write your string buffer
Here we use "My Caption" in ASCII. So buffer is 4D 79 20 43 61 70 74 69 6F 6E 00
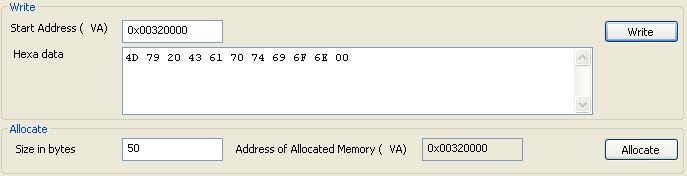
3) replace value at address 0x12E1F8 with 0x00320000 like explain in previous example (still take care of little endian)

4) Don't forget to free allocated memory !!!
| To free memory, you can do it at the next break, or directly from WinAPIOverride with the memory toolbar button. |  |
Enter address of allocated memory (0x32000000) in the "Free Previous Allocated Memory" section and click on "Free".
You get an successful message : All as been cleaned, and your process is like it was before breaking

Changing function return
Return of function is located in EAX for 4 bytes or less types, EAX:EDX for 8 bytes types or floating value,and ST_0 for floating value (according to calling convention) See Faq:Where is located returned value for more information
So to modify the return of a function, you have to change matching registers after the call of the function.
To do it, specify the |BreakAfterCall keyword after your function definition as specified in the monitoring file advanced syntax.
Take our ExeInternal monitoring example and TargetSample again.
By adding the keyword, our monitoring file becomes
EXE_INTERNAL@0x401000|Add(int x,int y)|BreakAfterCall
So start hooking TargetSample and load the monitoring file as described in Monitoring MessageBox
Click the "Exe Internal Call" button
Message box appears informing you values that will be added (5 and 7)
Click ok.
The Break Dialog appears as soon as function ends.
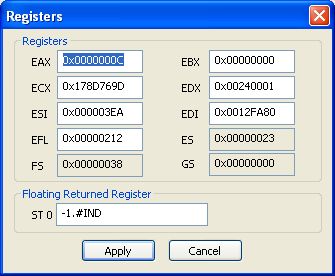
So as we want to change an int result (4 bytes type), the returned value is located in eax.
Click on the "Registers" button, modify EAX and click "Apply".
It's done !
So now click the "Continue" button and look at the result
To change a floating return, if it's stored in the ST 0 register, change the value and click "Apply"
|
If you like to modify a parameter buffer, use
the |BreakAfterCall keyword, and do the same as Changing Input Buffer Before Call, and to log your changes add the |LogOutputAfterBreak |
Changing asm registers before or after a call
According you want to modify registers before or after the function call, specify the |BreakBeforeCall or |BreakAfterCall option in your monitoring file.
Add the keywords |LogInputAfterBreak (for BreakBeforeCall) or |LogOutputAfterBreak (for BreakAfterCall) if you prefer to log your changes
instead of original registers.
By the way for "example\asm registers check\winapioverride32.exe", we can use the following monitoring file
EXE_INTERNAL@0x4010A0|RotateRegisters();|InOut|BreakBeforeAndAfterCall|LogInputAfterBreak|LogOutputAfterBreak
winapioverride32.exe asm software do the following:
Set EAX, EBX, ECX, EDX and EFL, call the RotateRegister function, and check if the result of RotateRegister is the waited one.
RotateRegister function code is
So check the "Attach application at startup" radio button, put "<YourPath>\example\asm registers check\winapioverride32.exe"
in the field "Application path", and click the start button.
We get the following message box.
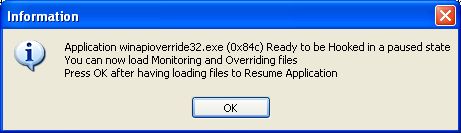
So load your monitoring file and next click "OK" to close message box.
As we have specified the break before call, we see the break dialog appear.
Click the "Registers" button.
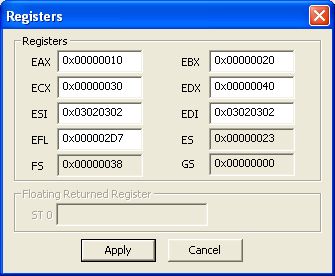
Now play with the registers. In my case I change EAX to 0x1 and ECX to 0x3.
Click "Apply"
Next click "Continue"
As we have ask to break after the call, as soon as function has been executed, we see the break dialog again.
So click "Registers" again
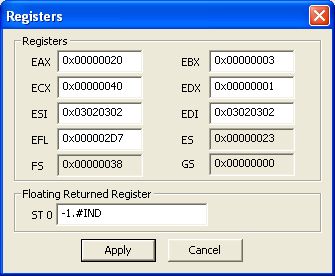
We find 0x3 in EBX and 0x1 in EDX so it's works !!! Call has been done with our values.
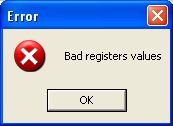
If you continue without changing values again, you will get the following message because the result is not the waited one for the application.
If you want application see nothing at all, replace registers with the value they should have after the rotate register call.
In my case I change EBX from 0x3 to 0x30 and EDX from 0x1 to 0x10
Click "Apply" and next "Continue"
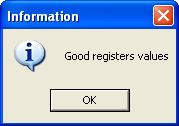
We get a successfull message !
Now take a look at the "Out" detail log.
As we log registers after our changes, we have for the successfull case

Make a remote Call
Notice: you can find other examples in Remote Call help
| Once TargetSample hooked, click on the remote call toolbar button |  |
So instead of calling a dll function, we are going to call our Add function.
Fill the "Dll Name" field with EXE_INTERNAL@0x401000
Next in "Function Call" enter MyAddFunction(-12,14)
Notice : as function name has no use with EXE_INTERNAL keyword, it's only to show you that you can put what you want.
You can put Add(-12,14) or Foo(-12,14) the result will be the same
Now select the process in which you want to make call. Here you are hooking just one process so you don't have a lot of choice : it's TargetSample.
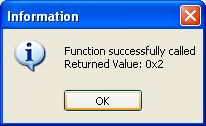
To end click the "Call" button

Hooking Notepad
So previous tutorial parts have shown you functionnalyties of WinAPIOverride, but now you want to go in the real world : hooking a full application.
First step : Creating the monitoring file
1) Parsing the import table (static imports)
This is the most important point, you are going to create a .txt file containing all information requiered for logging.
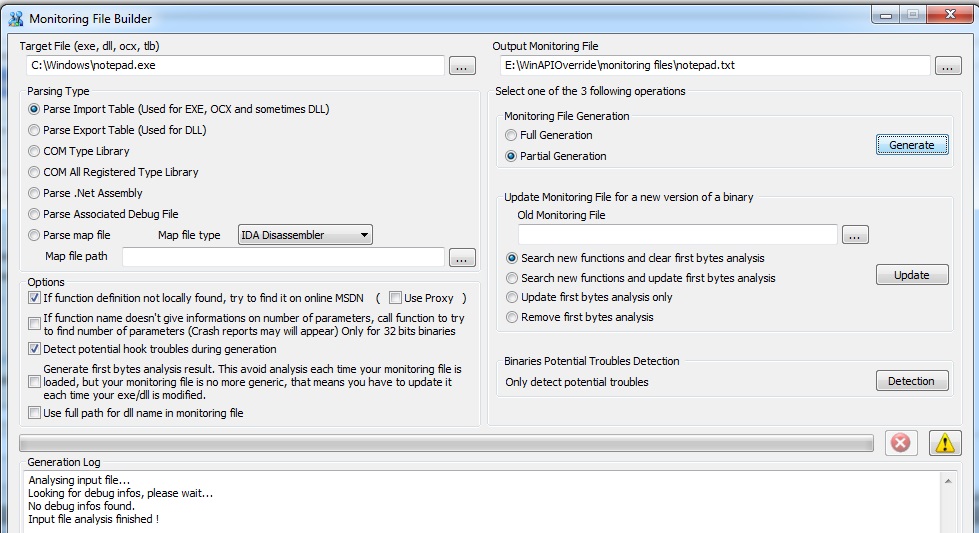
| So click on the "Monitoring File Builder" button |  |
|
To use the monitoring library from WinAPIOverride, assume your output monitoring file is in the "\monitoring files" directory relative to WinAPIOverride32.exe |
Now click the Generate button.

You can activate imported library logging on the left side, and by clicking a library name, select functions you want to log.
Here your brain should work a little, it's up to you to disable noisy functions and the usefull ones.
|
We will see how to disactivate a function of a monitoring file later, so if you don't know if you should generate monitoring information for a function,
just do it and disactivate it later. I really encourage you to let the kernel32 LoadLibraryXX and GetProcAddress functions activated to catch dynamically loaded function, with a view to monitor them later. |
Once your selection finished, click the"OK" button.
You can see progress and report in the Log window.
Once your monitoring file generated, you can adjust it according to your preferences (See monitoring file syntax).
| To display errors and warning report, click the button |  |
(Refer to Monitoring File builder documentation for more help) |
2) Detect dynamically loaded API (optional)
First select "Attach application at startup" and enter the notepad path


| Next start hooking by clicking on | |
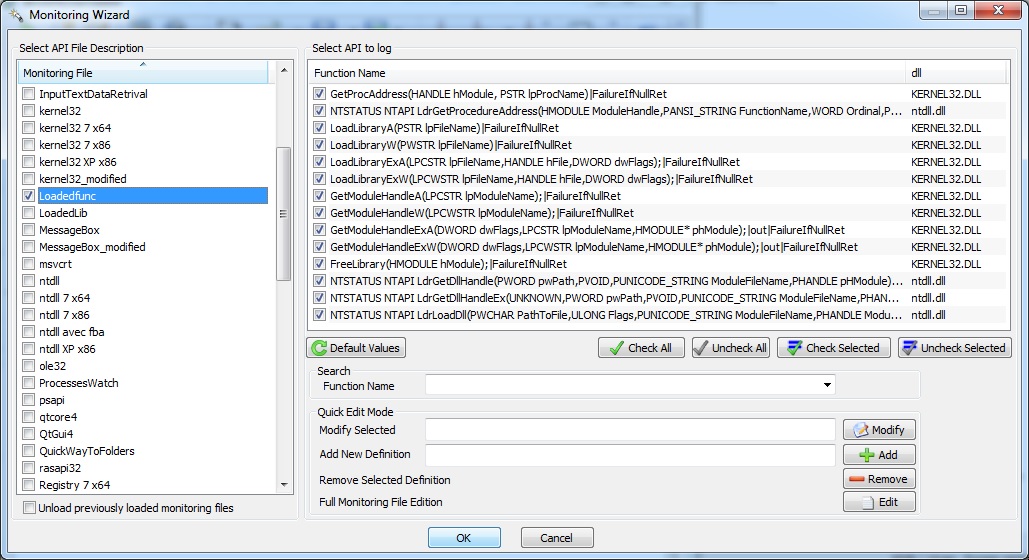
| Next click the Monitoring Library button | |
and select file called "Loadedfunc" |
Now click on Ok on the information dialog message to resume application

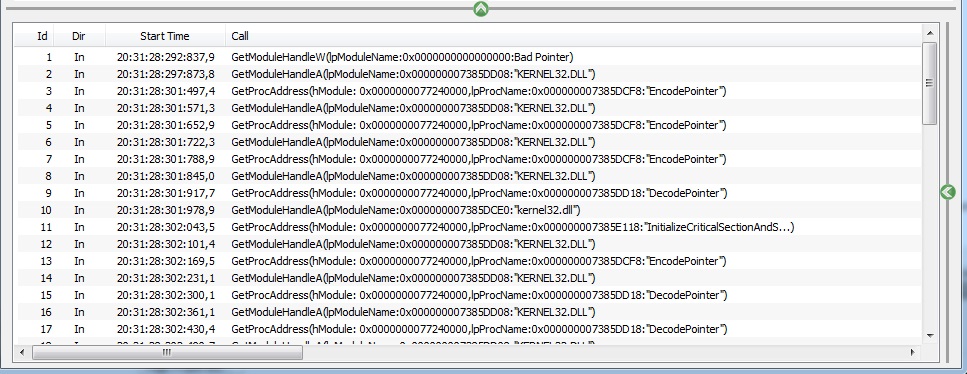
As functions are dynamically loaded, they could be loaded only when they are required, and if you don't do some action, you can miss some dynamically loaded functions
If your exe don't do any dynamically loaded like notepad, you won't see anything appear;
else you will get an output like the following
Finally, after closing application, you need to add the definition of the dynamically loaded functions into your monitoring file generated in 1 only if they are not already statically linked (it can happen)
Notice : definitions for the dynamically loaded functions may have been already written. So you can do a text search in the monitoring file directory, and if you are lucky you will only need to make a friendly copy and paste.
Second step : using the generated monitoring file
Now your monitoring file is ready; so close Monitoring File Builder, go back to WinAPIOverride and launch Notepad.
| Drag and drog the cross | |
on the Notepad dialog |
| Next start hooking by clicking on | |
A message box should appears, meaning that all is ok.
Specify you only want to log notepad calls (and not it's dll ones) by checking the "Only Base Module" in the "Modules Filters" group

| Click the Monitoring Library button | |
and select your notepad monitoring file |
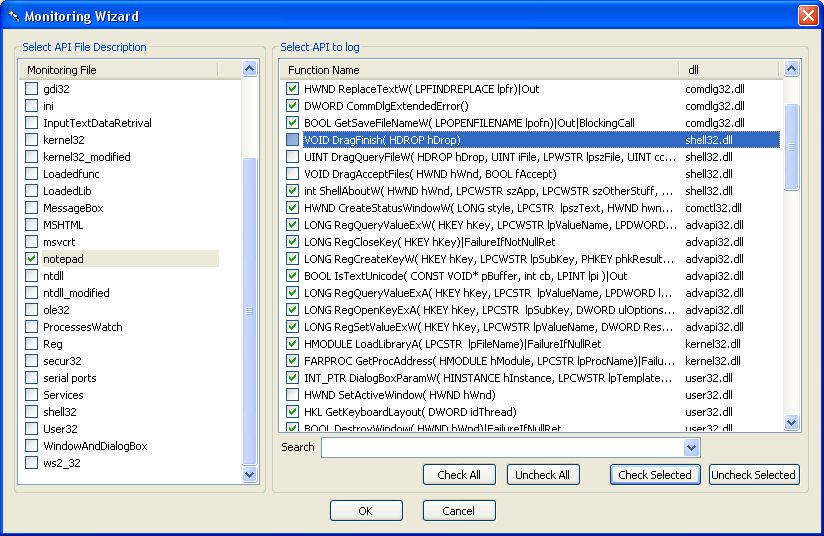
From this interface you can easily enable or disable function logging.
|
It's quite useless to select other monitoring files because you have generated a specific file for notepad, so adding other files will only log call coming from other libraries and modules. |
Once finished, click the Ok button.
If monitoring file loading is successfull, you will see it appear in the API Monitoring files list.
From now your application is hooked and functions calls are logged.
You can change monitored function by clicking the library button again.
So now you know how to hook a software !!!
Have fun